
Create Project
Projects are at the core of your work in HammerUp. They consolidate all information about a job: documents, time tracking, team, and costs.
Where can I create a project?
Section titled “Where can I create a project?”HammerUp offers multiple ways to create a new project:
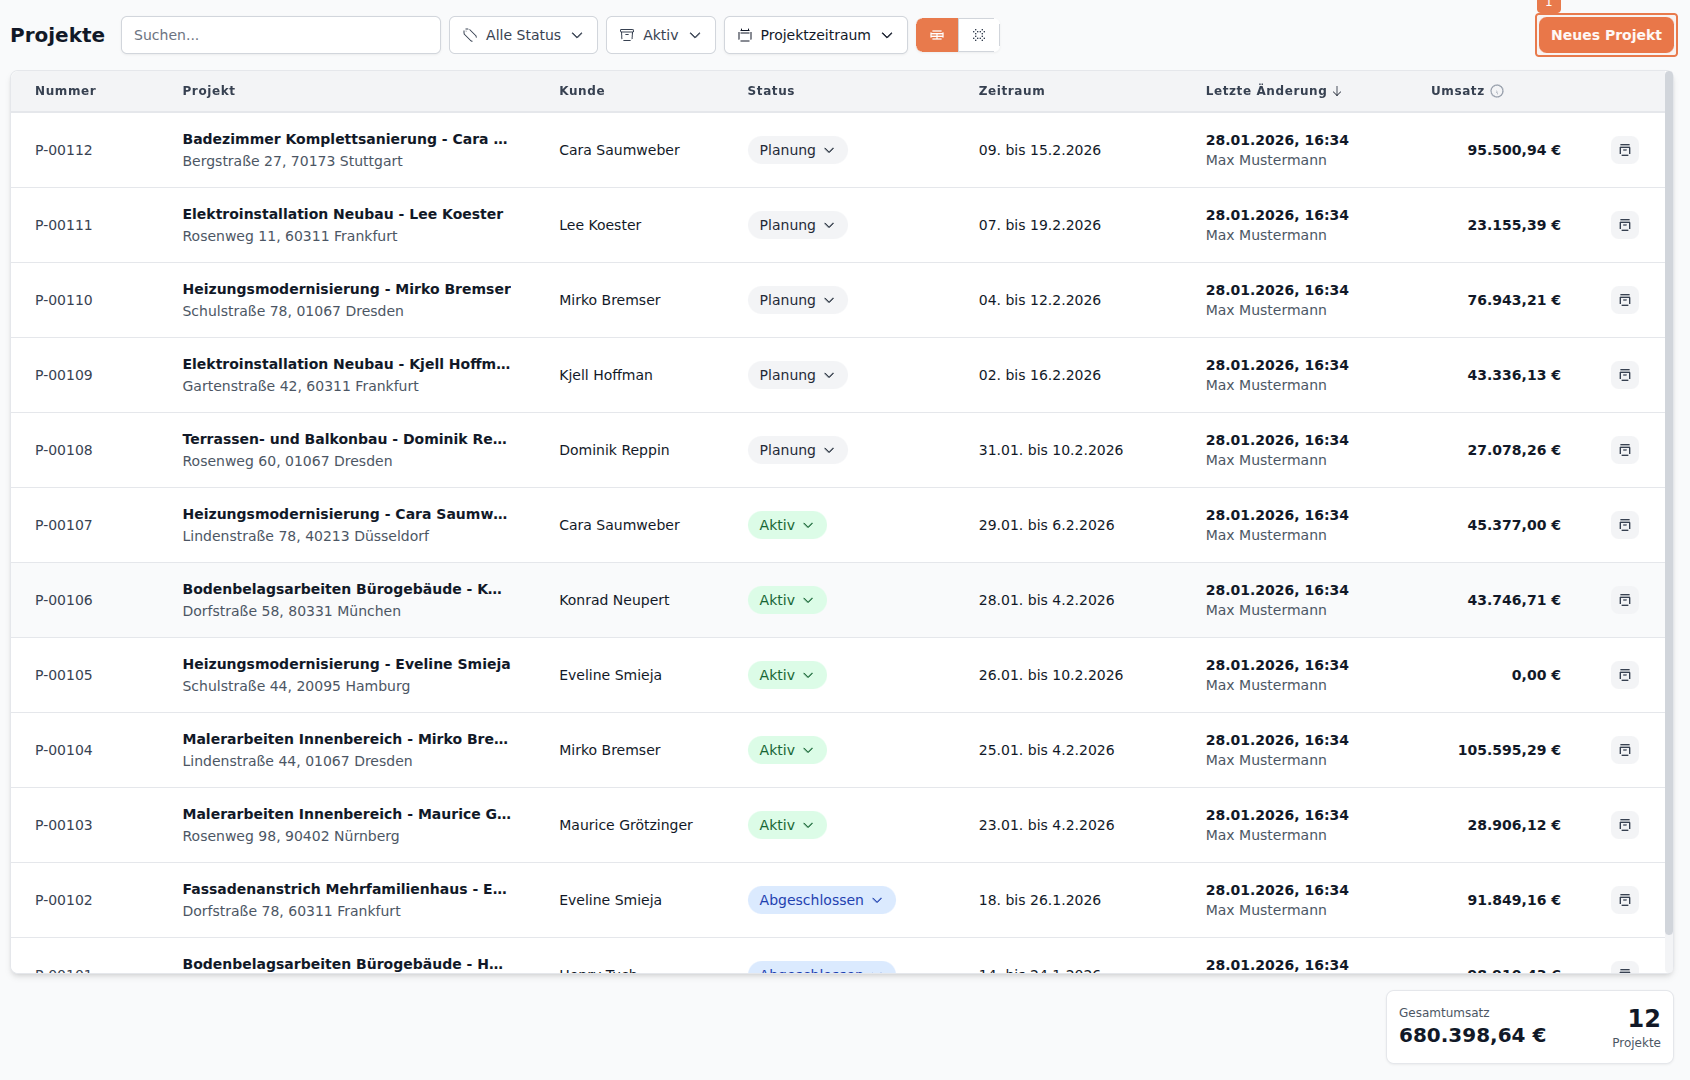
1. Project Overview
Section titled “1. Project Overview”The standard approach: Navigate to Projects and click New Project.
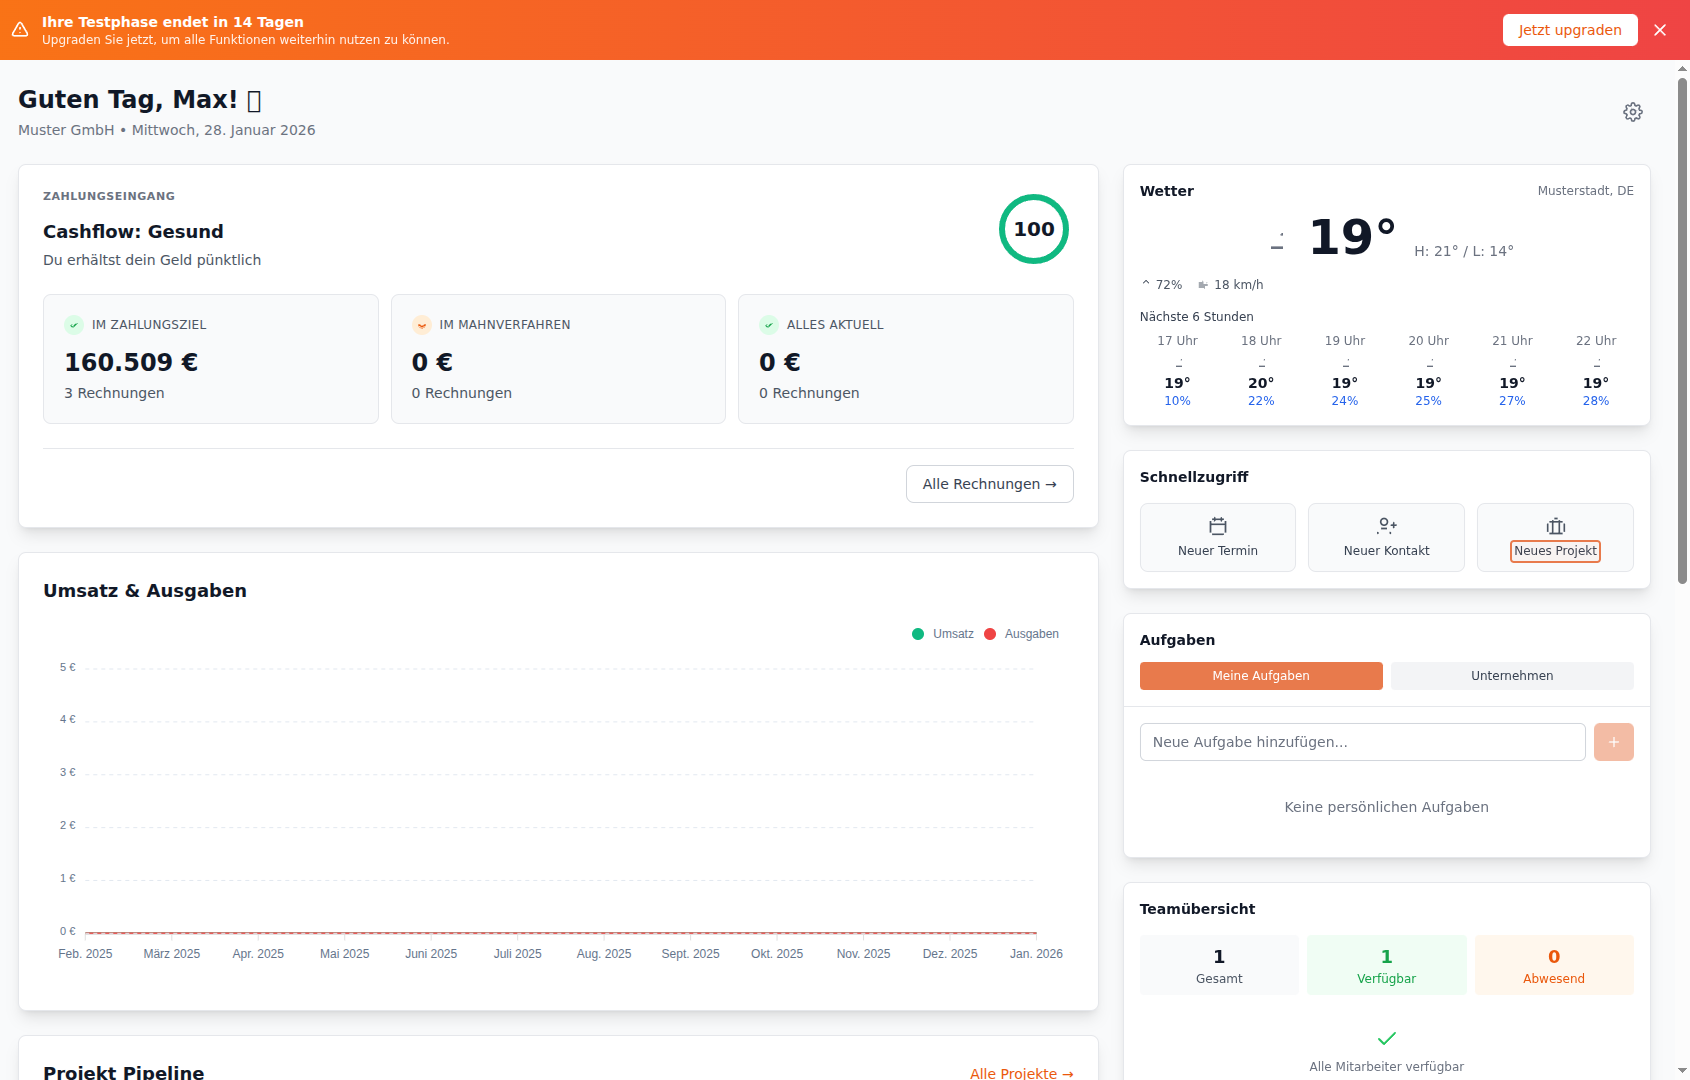
2. Dashboard
Section titled “2. Dashboard”For quick access: Use the Quick Actions on your dashboard.
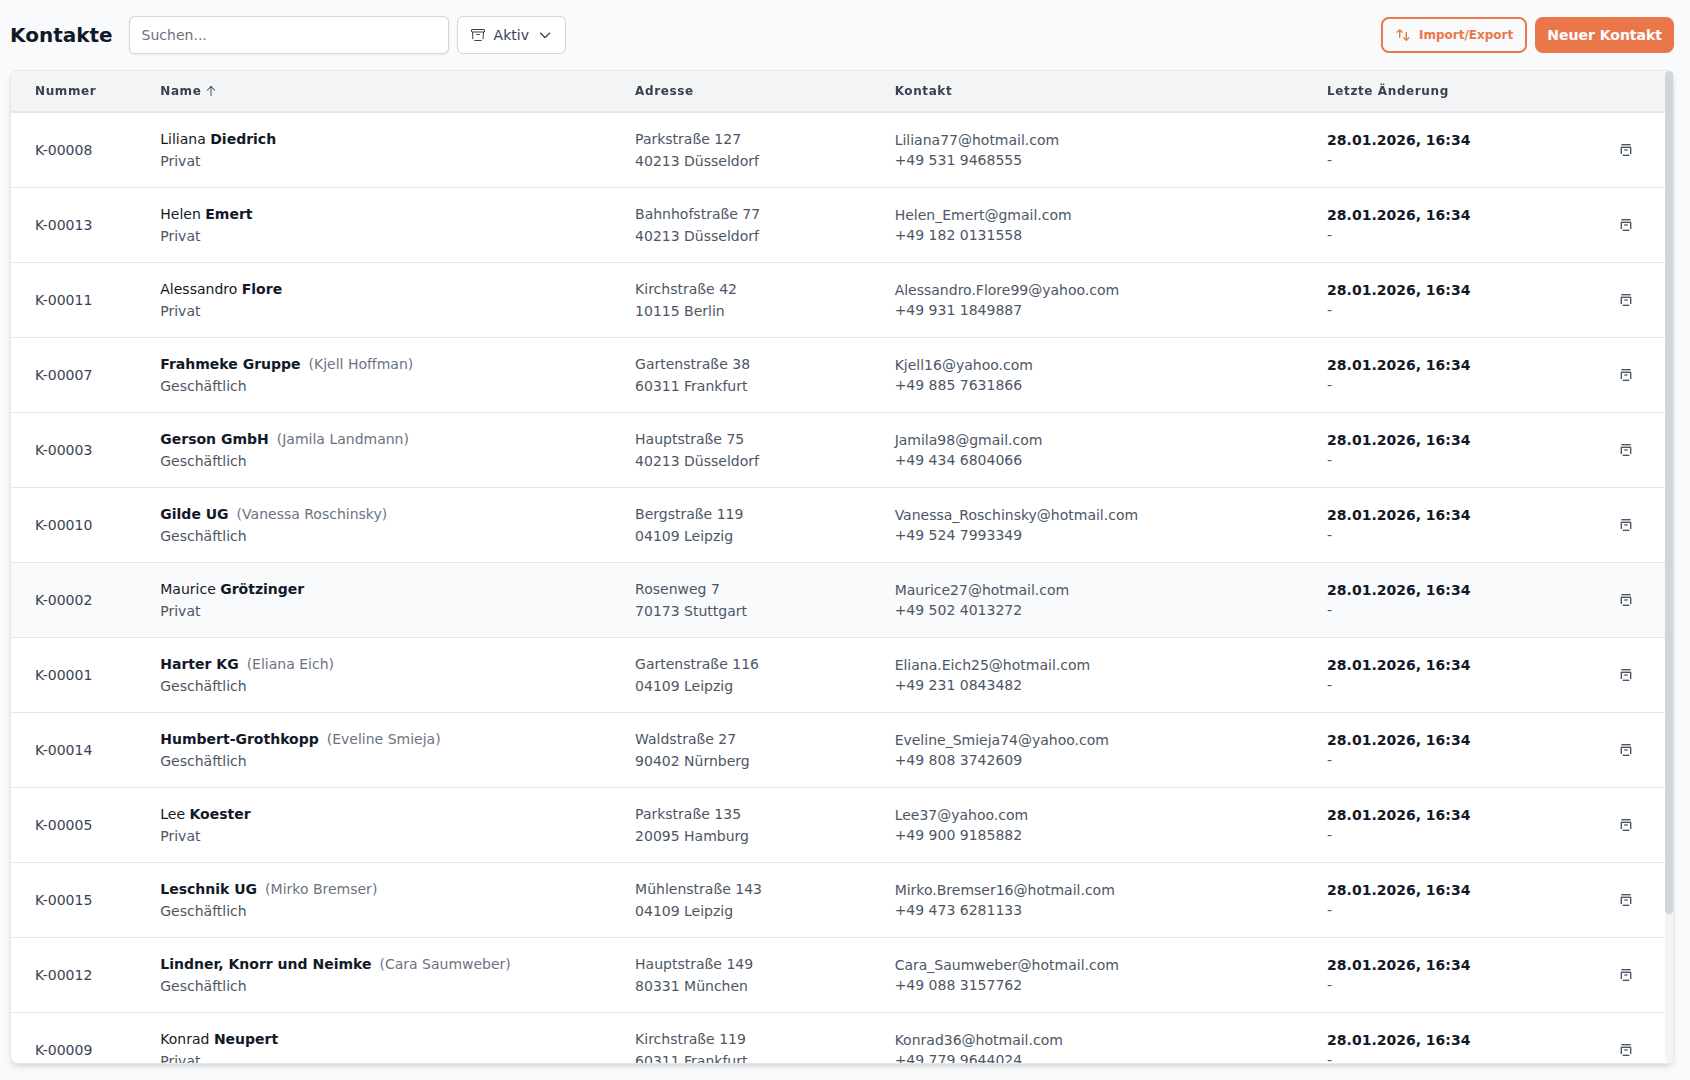
3. Contact Page
Section titled “3. Contact Page”The most efficient method for existing customers: Open the contact and click New Project. The customer is linked automatically.
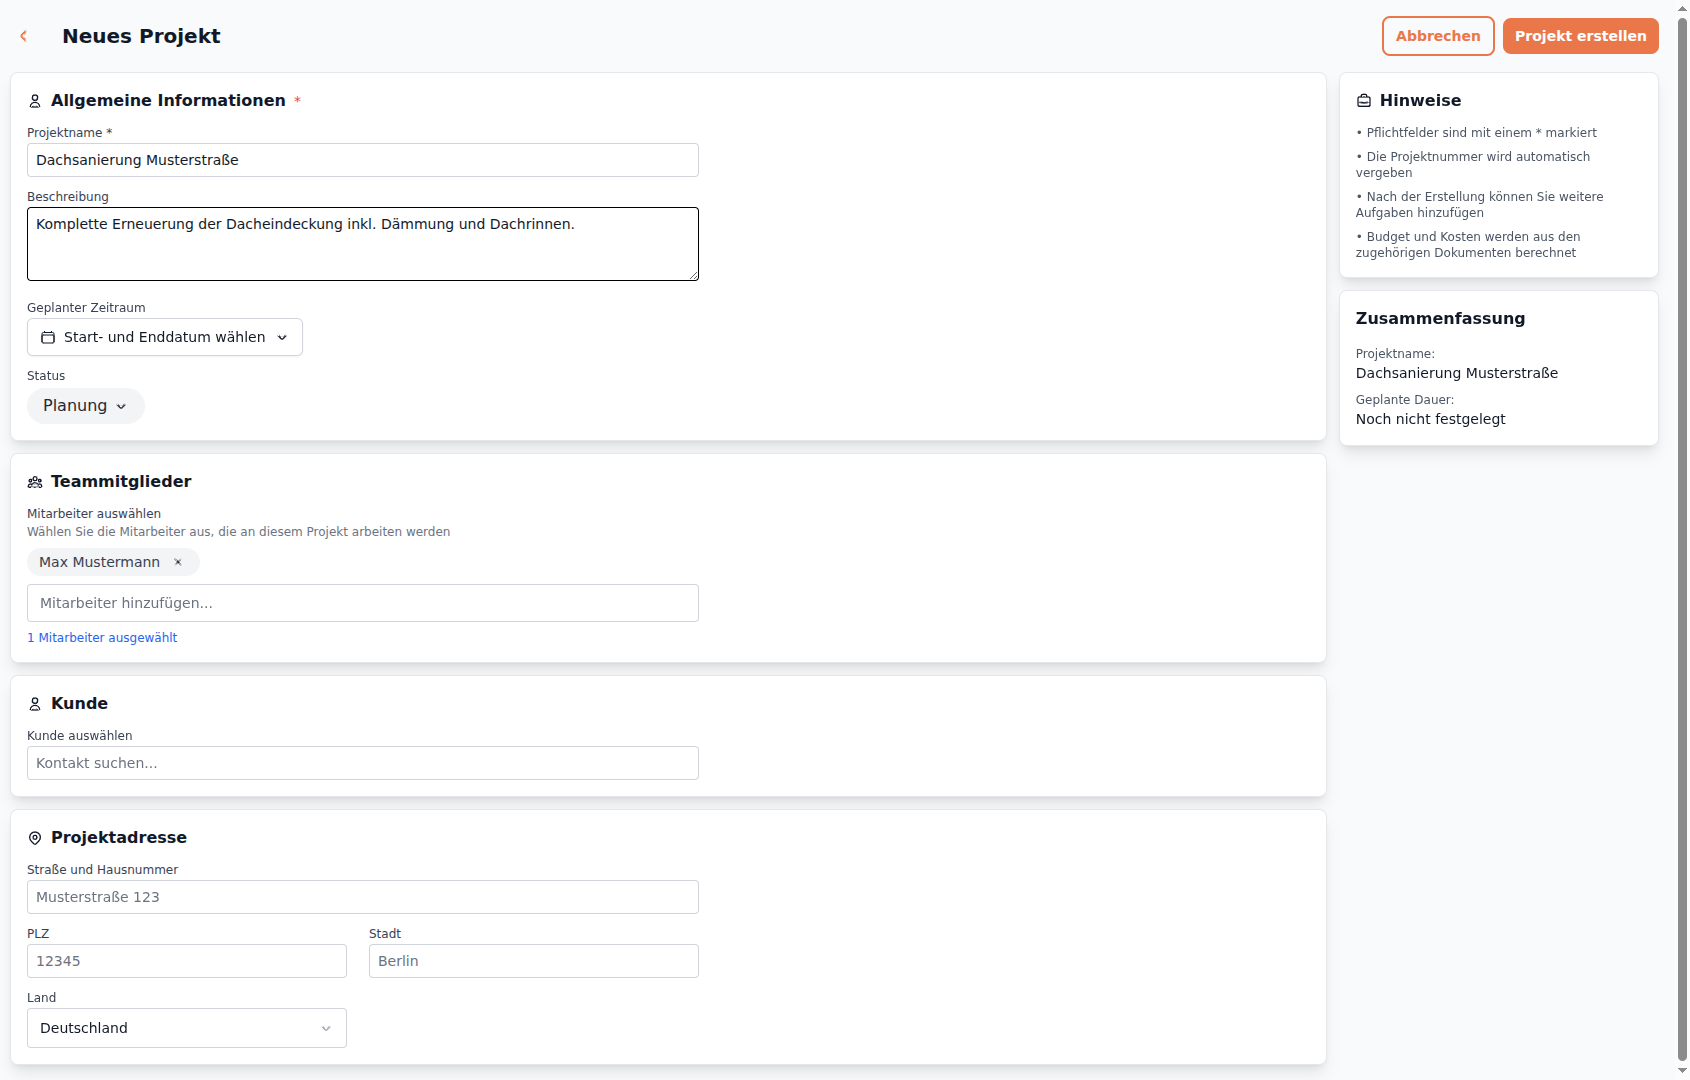
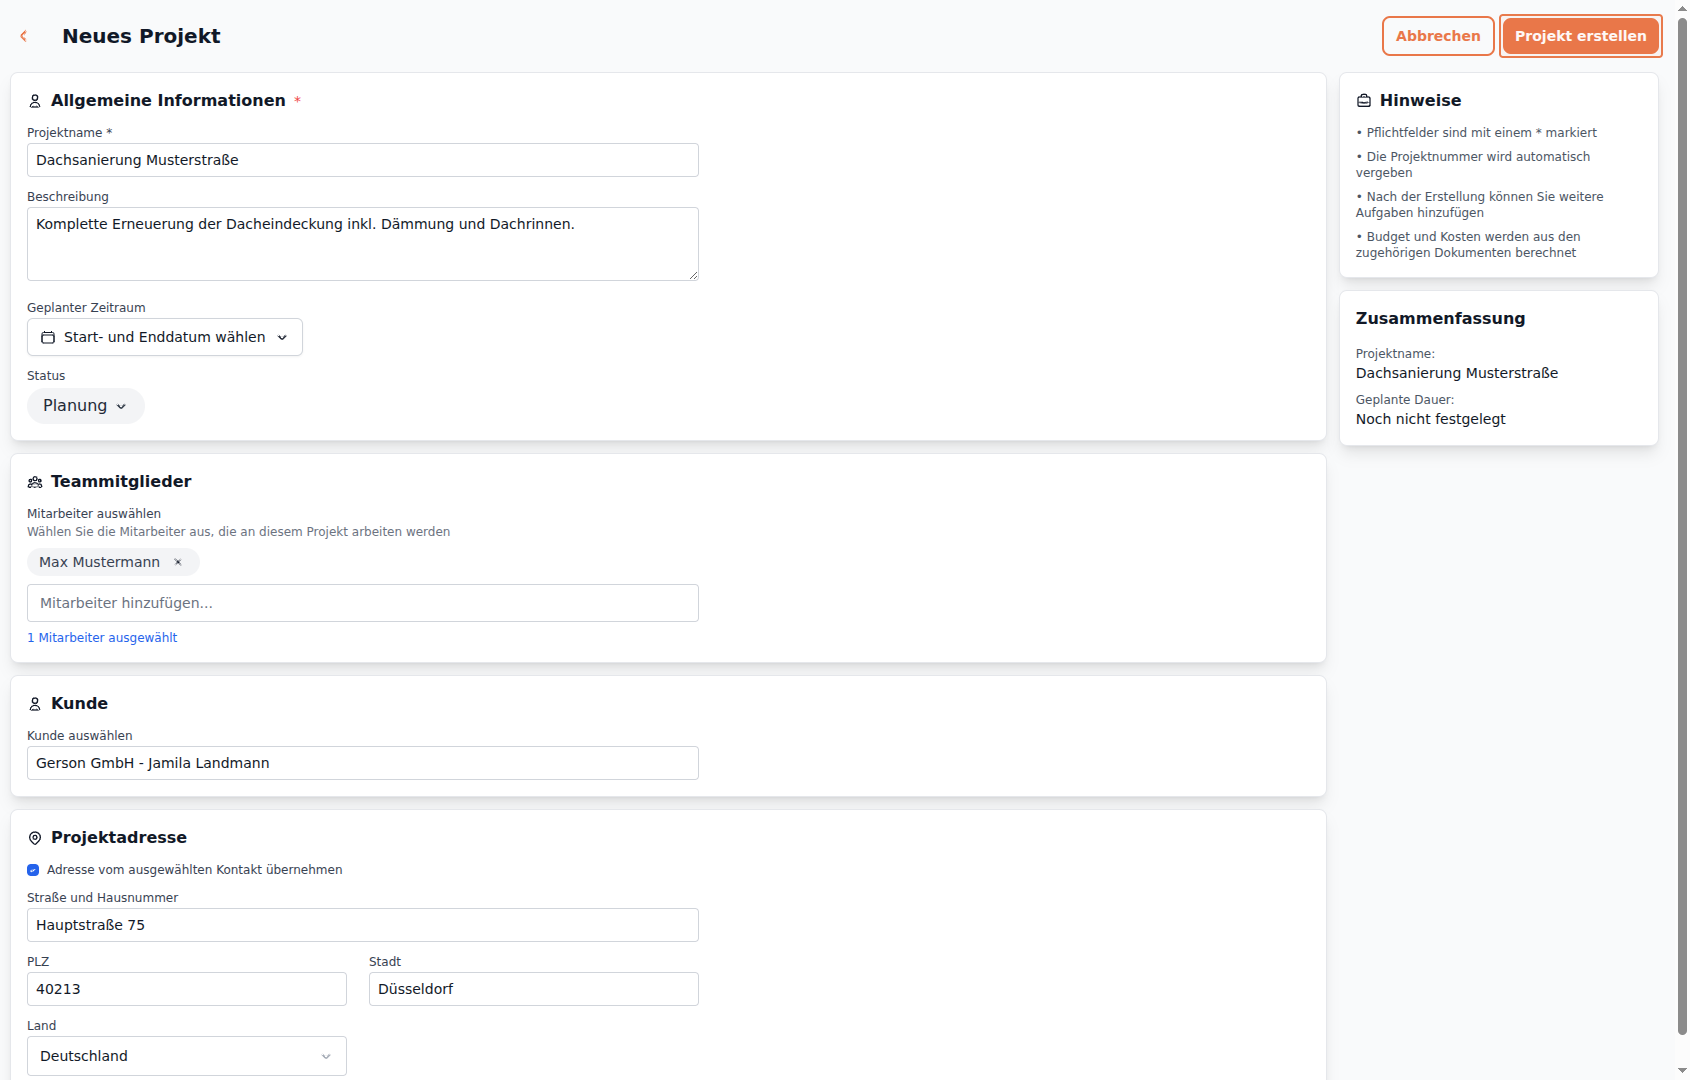
The Project Form
Section titled “The Project Form”After clicking New Project, the form opens with all essential fields.
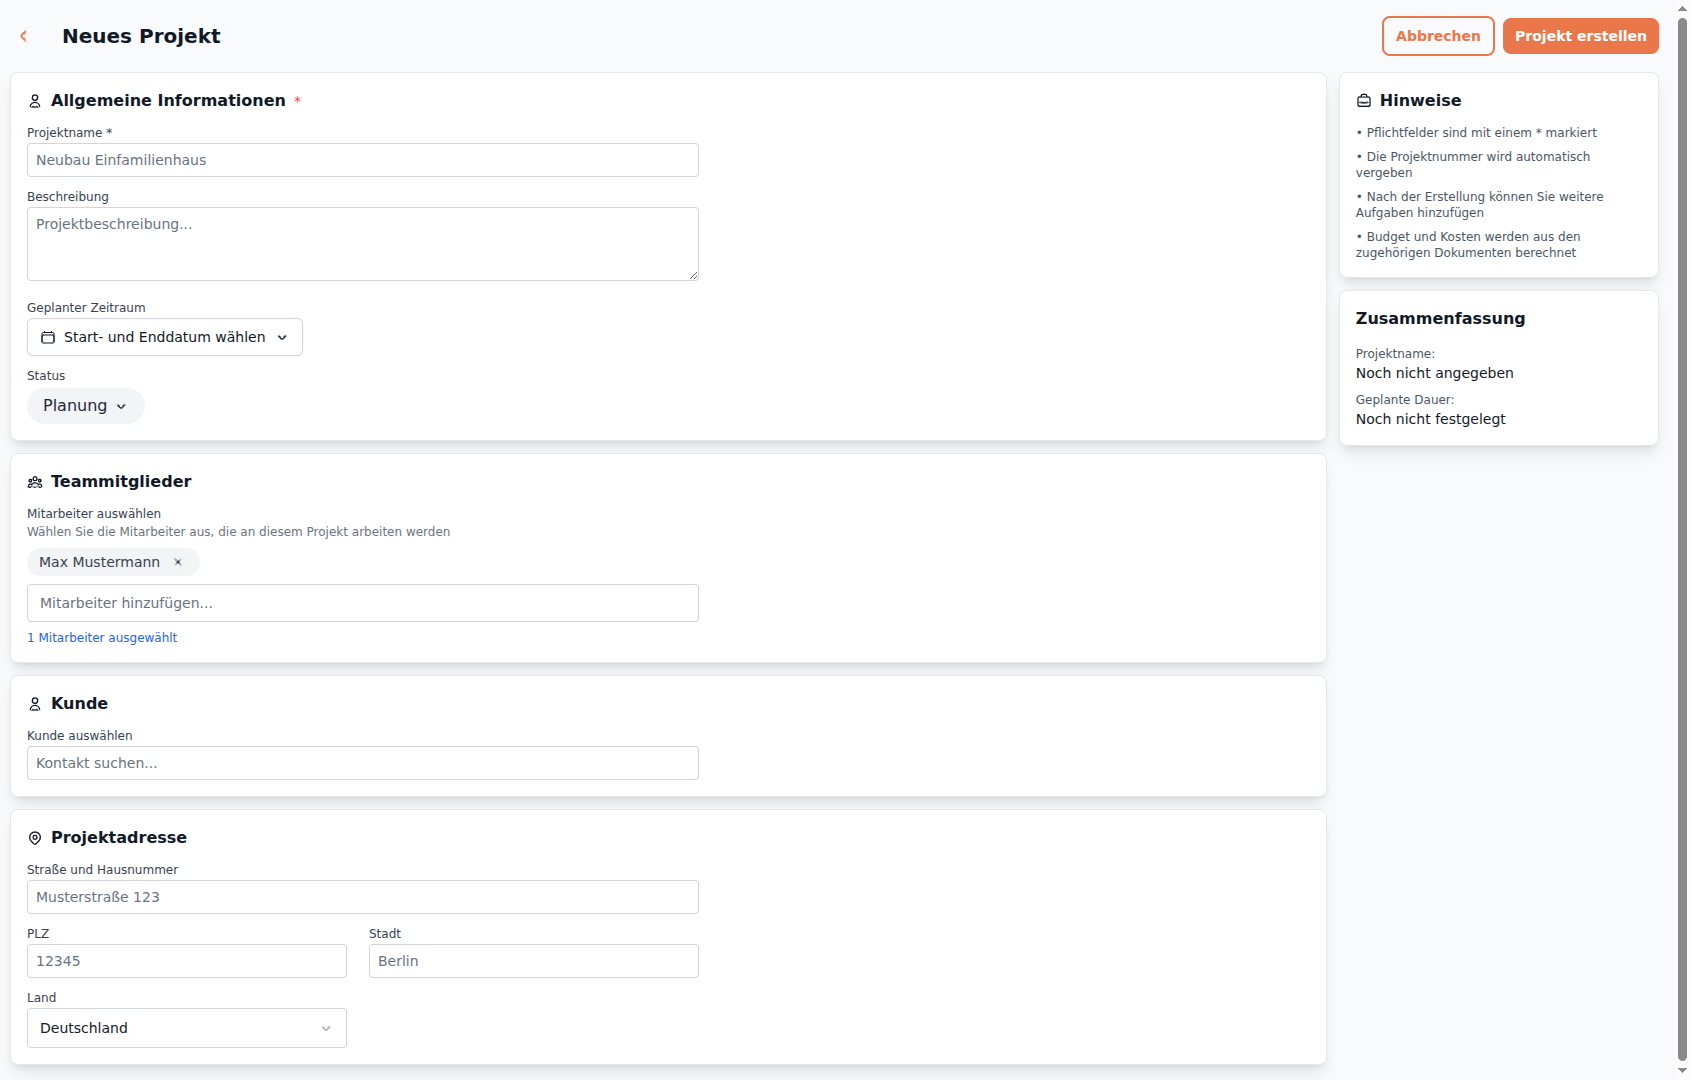
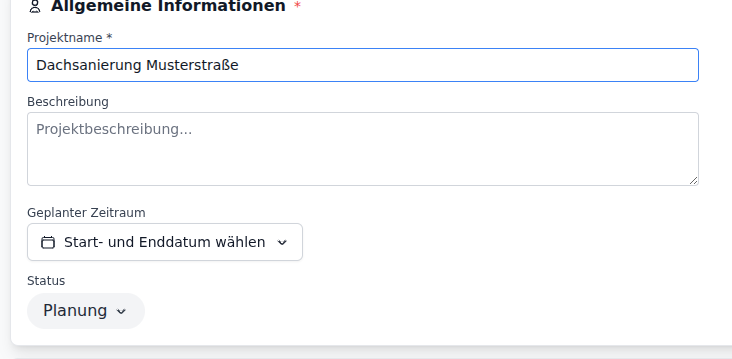
Assign a Project Name
Section titled “Assign a Project Name”Start with a descriptive name for your project.
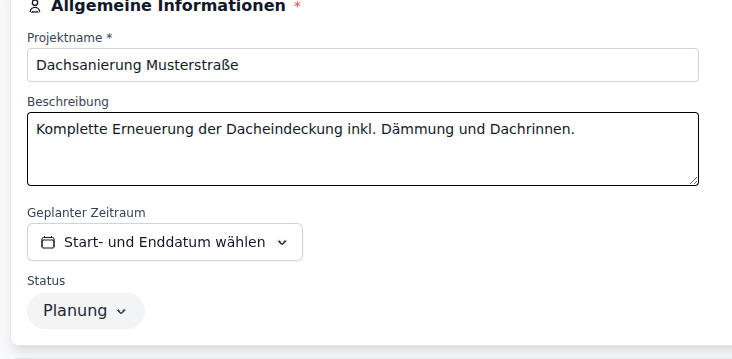
Add a Description
Section titled “Add a Description”Use the description field for additional details about the job. This helps you and your team quickly understand the project later.
Set the Timeframe
Section titled “Set the Timeframe”Define the planned start and end dates. These dates assist with scheduling and appear in the planning board.
Assign a Customer
Section titled “Assign a Customer”Select the customer from the list or search by name, company, or contact number.
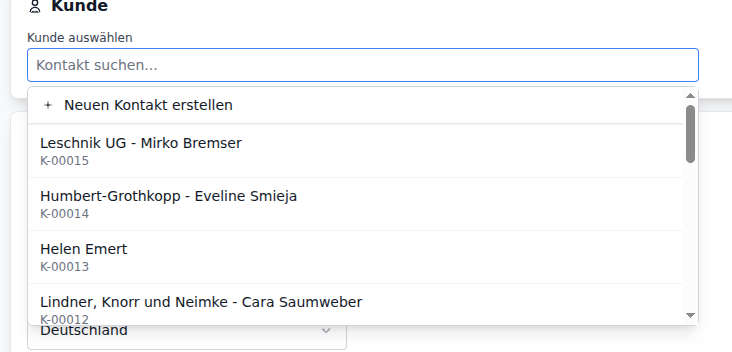
After selection, the customer is linked:

Project Address
Section titled “Project Address”The project address can be automatically copied from the customer. Enable the Copy address from contact checkbox for this.

For a different site address, disable the checkbox and enter the address manually - with smart address suggestions.
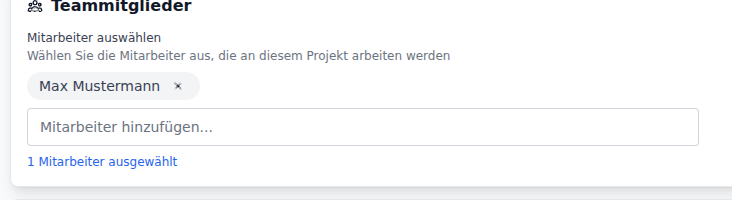
Assign Team Members
Section titled “Assign Team Members”Assign employees to the project. This allows them to see the project in their overview and log time against it.
Save Project
Section titled “Save Project”Click Save to create the project.
After saving, you’ll be taken to the project detail page:
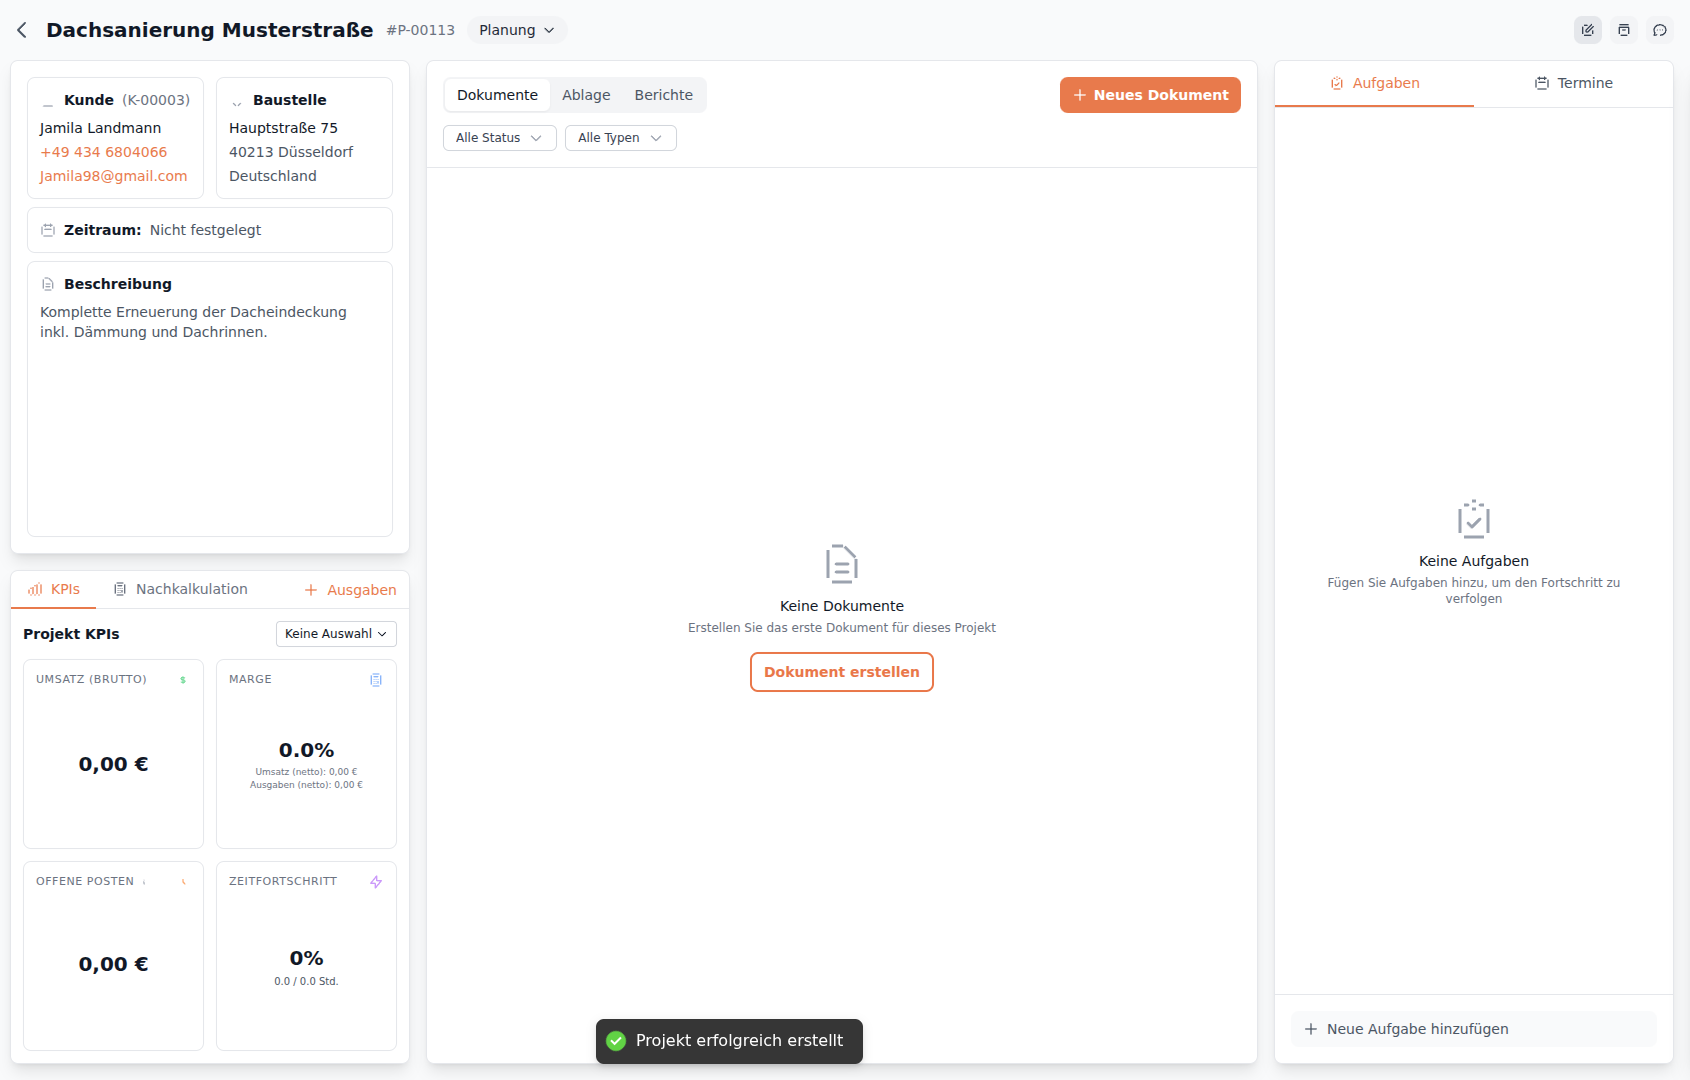
Project Status
Section titled “Project Status”Each project progresses through various phases:
| Status | Meaning |
|---|---|
| Planning | Project is in preparation |
| Active | Work is in progress |
| Completed | All work finished |
| Invoiced | Final invoice created |
What You Can Do Next
Section titled “What You Can Do Next”After creating the project, you have the following options:
- Create Quote - Create a quote for the project
- Track Time - Log working hours on the project
- Use Planning Board - Schedule the project in the planning board